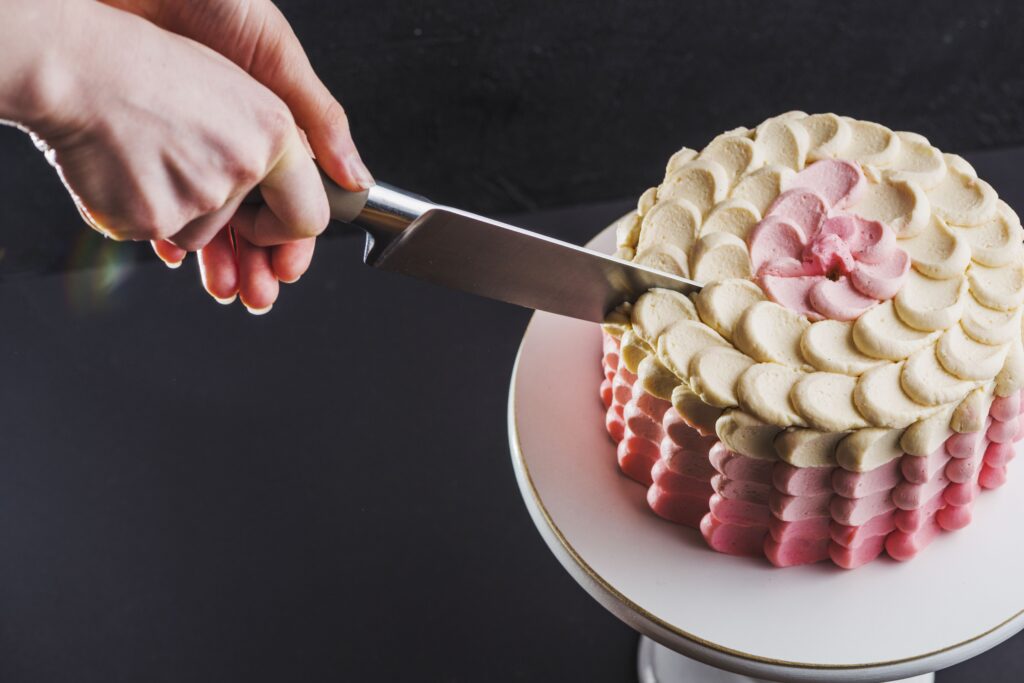
Cutting a cake is an essential skill, especially when you want to create beautiful layers or add fillings. While cutting a round cake into slices is quite straightforward, slicing it horizontally requires a bit more finesse. Whether you’re planning to make a layered cake or simply want to surprise your guests with an extra level of indulgence, mastering the art of cutting a round cake horizontally is a skill worth acquiring. In this blog, we will guide you through the step-by-step process of How to cut a round cake horizontally, ensuring a stunning presentation and delightful taste in every bite.
Step 1: Gather the Necessary Tools
Before you begin slicing your cake horizontally, make sure you have the following tools on hand:
- A sharp serrated knife: A serrated knife is essential for clean and precise cuts.
- A long, thin-bladed knife: This will aid in transferring the layers once they’re separated.
- Cake leveler (optional): A cake leveler is a handy tool for evenly splitting a cake, but it’s not essential.
Step 2: Choose the Right Cake
Not all cakes are suitable for horizontal slicing. It’s best to choose a cake that has a consistent texture and isn’t too crumbly. Cakes like sponge cake, chiffon cake, or butter cake work well for this purpose. Avoid cakes with large chunks of fruit or nuts that may create uneven layers.
Step 3: Prepare the Cake
Allow the cake to cool completely before attempting to cut it horizontally. Trying to cut a warm cake can result in messy layers and crumbling. Once the cake has cooled, level the top surface using a knife or cake leveler to create a flat base.
Step 4: Mark the Layers
Decide how many layers you want to create and mark the cake accordingly. Gently press a toothpick or a cake skewer into the side of the cake at equal intervals to guide your cuts. Make sure the markings are aligned all around the cake to ensure even layers.
Step 5: Begin the Horizontal Cut
Hold the serrated knife parallel to the cake’s surface and carefully insert it into the marked toothpick guides. Slowly and steadily slice through the cake while maintaining a straight line. Use a gentle sawing motion instead of applying excessive pressure to prevent the cake from crumbling or compressing.
Step 6: Separate the Layers
Once you’ve completed the horizontal cut, carefully lift off the top layer using the thin-bladed knife. Slide the knife gently underneath the cut layer, ensuring it doesn’t break or tear. Transfer the separated layer to a clean, flat surface or a cake board.
Step 7: Repeat the Process
Continue the same cutting technique to separate the remaining layers. Take your time and maintain a steady hand to achieve consistent and uniform slices.
Step 8: Finishing Touches
Once you have all the layers separated, you can add fillings, frostings, or decorations between each layer. Ensure each layer is level by trimming the edges if needed. Finally, stack the layers on top of each other, aligning them carefully.
Conclusion
Cutting a round cake horizontally can elevate your baking skills and bring a touch of sophistication to your desserts. By following these step-by-step instructions, you’ll be able to achieve perfectly even layers, allowing for creative filling options and stunning presentation. Remember to choose the right cake, use the appropriate tools, and take your time during the cutting process. With practice, you’ll become a master at slicing round cakes horizontally, impressing your family and friends with your beautifully layered creations. Happy baking!


